Contact Us
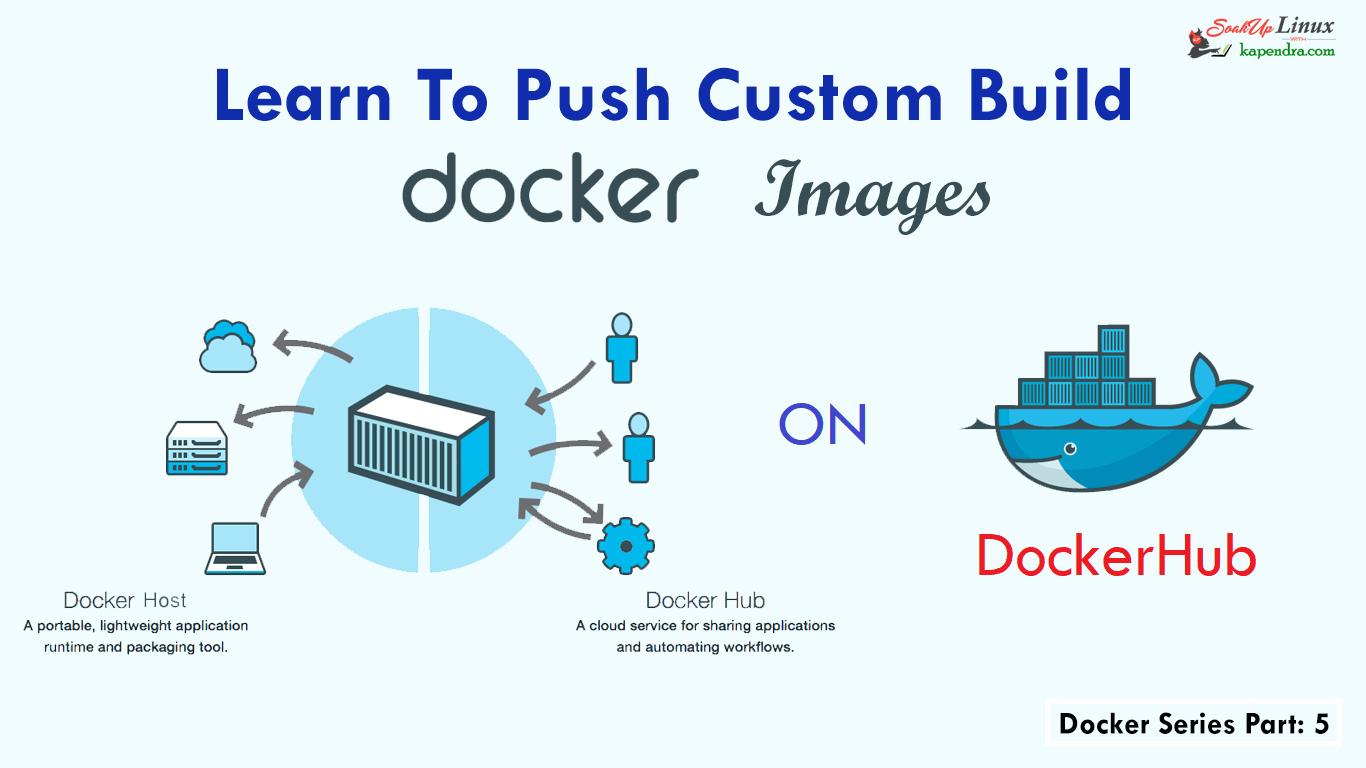
Learn To Push Custom Build Docker Image on Docker HUB (Repository) – Part 5
In our previous article we Learned To Install, Run And Delete Applications Inside Docker Containers and in the same article we learned to create and build our own custom image on our local system and we also learned to create our Docker Hub account to pull Docker Images.
Now if we want to keep your Custom Build Image on Docker HUB so that these Custom Build Image can be used by everyone else and to do so we have to host our Custom Build Image on Public repositories(within Docker HUB).
We also downloaded CentOS images which are available on Docker Hub and there are many images such as Ubuntu, Mongo, and Lamp which are all publicly available for all. We are also going to do the same and we will make our images available by publishing it to the public repository on Docker Hub.
For this example, we will use the same image Docker Image (centos-apache) which we created in PART 4.
Just in case, if you did Miss Previous tutorial regarding Docker, You can read here:
Part 1: What Is Docker And Concept Of Containers With Virtualization?
Part 2: How To Install Docker On CentOS/RHEL 6/7? And Learn Docker HUB Registration
Part 3A: Getting Familiar With Docker Commands Docker Terms: Docker – Part 3 A
Part 3B: Getting Familiar With Docker Commands Docker Terms: Docker – Part 3 B
Part 4: Learn To Install, Run And Delete Applications Inside Docker Containers – Part 4
Scenario:
Host OS: CentOS 7 x86_64
Host IP: 192.168.1.188
RAM: 4GB memory,
Network Port: 1GB/s
HDD: 1000GB of disk space.
Pre-Build Docker Image: centos-apache
DockerHUB Account: [email protected]
Note: If you are a SUDO user then prefix every command with sudo, like #sudo ifconfig
As per scenario, we have Pre-Build Docker Image centos-apache (Build in Part 4). Follow the following steps
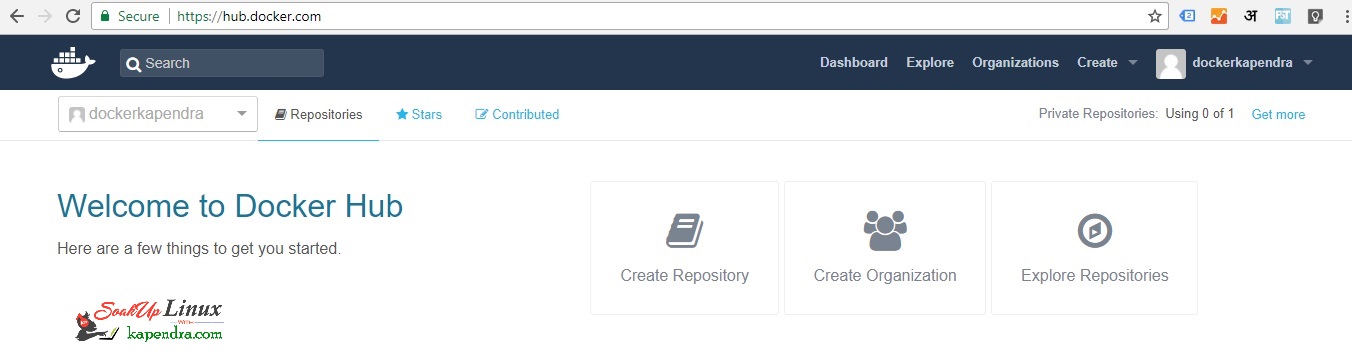
Step 1: Login Docker HUB Account
To do this you need to login into your Docker HUB account so go to https://hub.docker.com/ and log in with your credentials and create your repository. The repository is the same place where your image will be stored for public access.
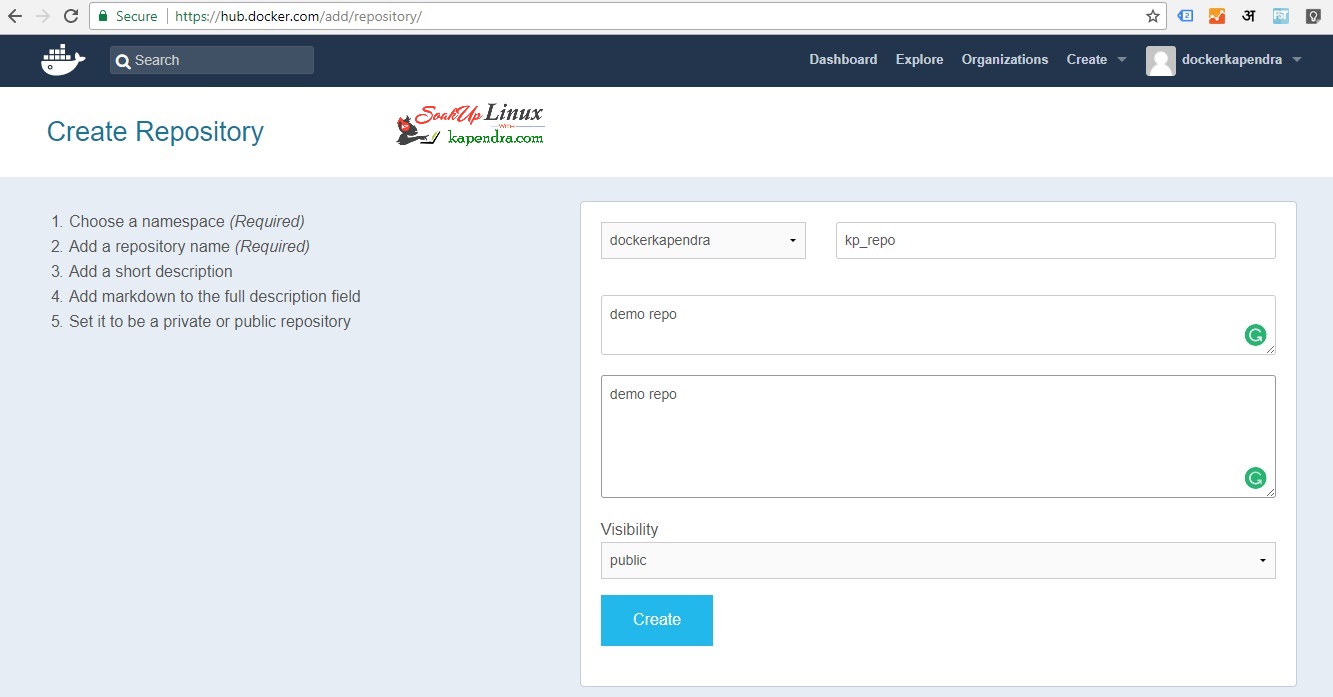
Step 2 − Crete Repository
After Logging in click on the button “Create Repository” and create a repository with the name “my_repo” (You may name according to you) and while creating this repository make sure you that the repository is publically visible/accessible.
After Repository is created you will get a PULL command for this repository so note it for future reference
#docker pull dockerkapendra/kp_repo
Step 4 − Docker Login Via Terminal
Now login into your Docker account via terminal. The Docker login command will prompt you for the username and password to the Docker Hub repository. After fulfilling security formalities.
[root@localhost ~]# docker login
Login with your Docker ID to push and pull images from Docker Hub. If you don't have a Docker ID, head over to https://hub.docker.com to create one.
Username (dockerkapendra): dockerkapendra
Password:
Login Succeeded
Step 5: Tag Your Docker Image
Now our first task after logging into Docker HUB via terminal is to tag our new Docker Image (centos-apache) to the newly created Docker HUB repository. So in the terminal of Docker Host use the following Tag command
Syntax: Docker tag imageID Repo_Name
#docker tag c260cf77d362 dockerkapendra/kp_repo:1.0
Where ImageID is the ImageID which needs to be tagged to the repository and Repo_Name is the repository name to which the ImageID needs to be tagged. After Tagging you will see your Tag got the change like below.
[root@localhost ~]# docker images
REPOSITORY TAG IMAGE ID CREATED SIZE
centos-apache latest 2079bea49120 16 hours ago 331.8 MB
dockerkapendra/kp_repo 1.0 2079bea49120 16 hours ago 331.8 MB
docker.io/hello-world latest 1815c82652c0 3 weeks ago 1.84 kB
docker.io/centos latest 3bee3060bfc8 4 weeks ago 192.5 MB
Step 6: Push Image On Docker HUB
We have successfully tagged our newly created image and we will after this now we can push the image to the Docker Hub repository. For doing this we need to hit a simple command.
Syntax: docker push Repo_Name
Repo_Name is the repository name which needs to be pushed to the Docker Hub.
[root@localhost ~]# docker push dockerkapendra/kp_repo:1.0
The push refers to a repository [docker.io/dockerkapendra/kp_repo]
a1c5613caa44: Pushed
dc1e2dcdc7b6: Mounted from library/centos
1.0: digest: sha256:0d904c8218dec718e2f974a95574679b0a281443992f66e72b95cd859375088d size: 741
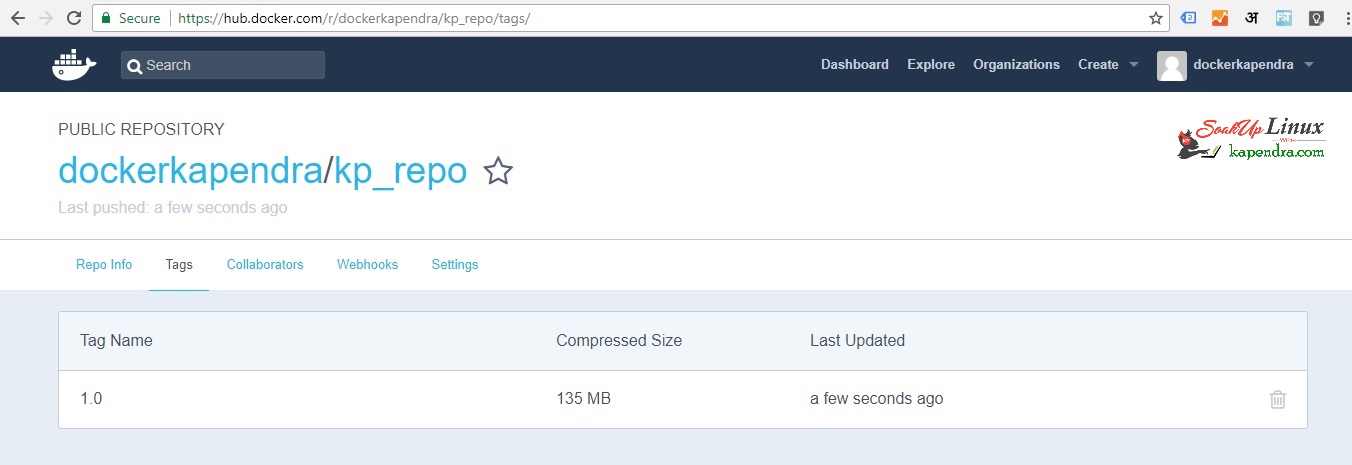
Step 7: Verify Your Work
Now go to your Docker HUB Account page and go to your repository tab you will be able to see the same tag you just created.
Step 8: Pull Your Image
Now you can test your repository with pulling the image but before that, you need to delete your images (centos-apace) from the local Docker Host system so follow the group of command.
[root@localhost ~]# docker rmi centos-apache
Untagged: centos-apache:latest
Untagged: dockerkapendra/kp_repo@sha256:0d904c8218dec718e2f974a95574679b0a281443992f66e72b95cd859375088d
Now let’s pull your image from the Docker Hub repository with PULL command.
[root@localhost ~]# docker pull dockerkapendra/kp_repo:1.0
Trying to pull repository docker.io/dockerkapendra/kp_repo ...
1.0: Pulling from docker.io/dockerkapendra/kp_repo
Digest: sha256:0d904c8218dec718e2f974a95574679b0a281443992f66e72b95cd859375088d
I hope this was helpful. Next Article for creating DockerFile Coming Soon
Part 1: What Is Docker And Concept Of Containers With Virtualization?
Part 2: How To Install Docker On CentOS/RHEL 6/7? And Learn Docker HUB Registration
Part 3A: Getting Familiar With Docker Commands Docker Terms: Docker – Part 3 A
Part 3B: Getting Familiar With Docker Commands Docker Terms: Docker – Part 3 B
Part 4: Learn To Install, Run And Delete Applications Inside Docker Containers – Part 4


Trending now