Contact Us

How To Install Apache 2.2 on CentOS/RHEL 5/6/7?
Apache is one the most in use web servers around the world and still today it occupies 50 % of the web. The introduction of other web servers like Nginx or light-httpd its use is going down but still, Apache is the king. By the end of this article, you will learn how to install Apache 2.2 on your server with the Remi repository
Read comparison between Apache and Nginx
You just have to follow very simple steps, with the YUM manager. YUM makes it really easy by avoiding the compilation process and install them easily with installing all other dependencies and also you are notified of updates.
Scenario: My Server IP is 192.168.1.188
So let’s start and Learn To Set Up Apache 2.2
Step 1: Enable Remi Repository
Most of the updated package is available under the Remi repository. Install it in your system using the following commands.
CentOS/RHEL 7:
# rpm -Uvh http://rpms.famillecollet.com/enterprise/remi-release-7.rpm

CentOS/RHEL 6:
# rpm -Uvh http://rpms.famillecollet.com/enterprise/remi-release-6.rpm

CentOS/RHEL 5:
# rpm -Uvh http://rpms.famillecollet.com/enterprise/remi-release-5.rpm

Fedora 20:
# rpm -Uvh http://rpms.famillecollet.com/remi-release-20.rpm
Step 2: Install Apache
After adding the Remi repository, install phpMyAdmin using the yum package manager. All the dependencies will automatically be installed.
# yum --enablerepo=remi install httpd mod_ssl
Step 3: Start Your Server
As Apache doesn’t start automatically when you install, you need to start it manually.
#service httpd start
The following message is displayed:
Starting httpd: httpd: Could not reliably determine the server's fully qualified domain name, using 127.0.0.1 for ServerName
The IP address (shown in this example as 127.0.0.1) is used as the server name by default. In the following steps, set the server name for the next time the server is started.
Step 4: Apache VirtualHost Configuration
#vim /etc/httpd/conf.d/vhost.conf
After this file is open make the following changes
NameVirtualHost *:80

<VirtualHost *:80>
ServerName 192.168.1.188
ServerAdmin [email protected]
DocumentRoot /var/www/html/

DirectoryIndex index.php index.htm index.html

#ScriptAlias /cgi-bin/ /home/www/www.example.com/cgi-bin/
#<Location /cgi-bin>
# Options +ExecCGI
#</Location>

ErrorLog /var/log/httpd/error_log
CustomLog /var/log/httpd/access_log combined
</VirtualHost>
<Directory /var/www/html/>
Options Indexes FollowSymLinks
AllowOverride None
order allow,deny
allow from all
#allow from 127.0.0.1
</Directory>
Now save the file using the command #:wq!
Step 4: Allow iptables
If you don’t have iptables running then skip this step but sometimes it happens that Centos servers are running with iptables so we have to make some changes to allow Port 80 to get our apache server live for the public domain. else Port 80 and 443(SSL) will be blocked
#iptables -I INPUT -p tcp --dport 80 -j ACCEPT
#iptables -I INPUT -p tcp --dport 443 -j ACCEPT
#service iptables save
Note: After saving iptables restart the Apache server. if the Apache page doesn’t show up reboot the server and follow from step 5.
Step 5: Restart Apache Server
# Server httpd restart
Step 6: Check Your Installation
Now open a browser and navigate to your Server IP address (for example, http://192.168.1.188).
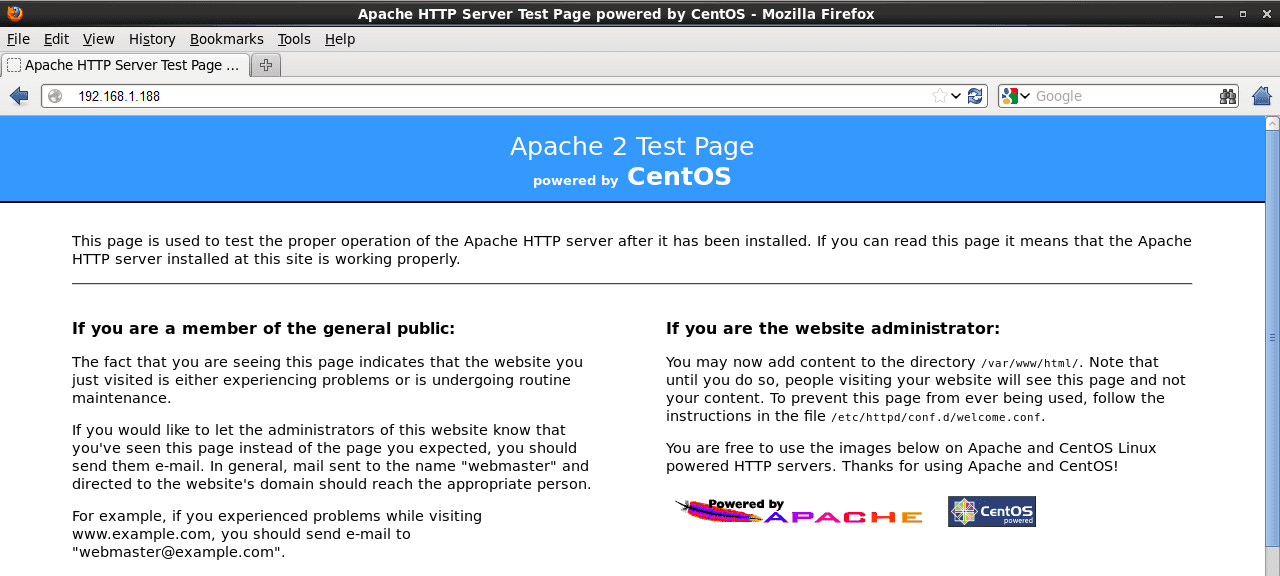
If you could see the page then you have successfully installed Apache on to your server
Step 7: Set for startUP configuration
As we have installed Apache and it up so makes it get start automatically after every reboot you have to run the following commands and your Apache server will start automatically when the server is rebooted.
#chkconfig httpd on
Some Useful Command
- To check Apache configuration file syntax
#httpd -t
2. To check Apache automatic start at run-level
#chkconfig --list httpd
the output will be …
httpd 0:off 1:off 2:on 3:on 4:on 5:on 6:off
3. To restart the Apache server
#service httpd restart


Trending now