Contact Us

What Is JMeter And How To Setup JMeter On CentOS/RHEL 5/6/7?
The Apache JMeter™ application is open source software, a 100% pure Java application. This application is used test functional behavior and measure performance with the load. It was originally designed for testing Web Applications but has since expanded to other test functions like below.
- It is used for several purposes, like Apache JMeter may be used to test performance both on static and dynamic resources, Web dynamic applications.
- It can be used to simulate a heavy load on a server, group of servers, network or object to test its strength or to analyze overall performance under different load types.
- It has the Ability to load and performance test many different applications/server/protocol types like Web – HTTP, HTTPS (Java, NodeJS, PHP, ASP.NET,) etc.
- This application has full featured Test IDE that allows fast Test Plan recording (from Browsers or native applications), building and debugging.
- It also provides you Command-line mode (Non-GUI / headless mode) to load test from any Java compatible OS (Linux, Windows, Mac OSX,)
The Availability of plugins which allows allowing JMeter for unlimited testing capabilities. Plugins allow JMeter for Data analysis and visualization with great extensibility and personalization. With the use of plugins easy Continuous Integration through the 3rd party, Open Source libraries for Maven, Gradle, and Jenkins is possible.
Scenario:
Host OS: CentOS/RHEL 5/6/7
Host IP: 192.168.1.188
RAM: 4GB memory,
Network Port: 1GB/s
HDD: 1000GB of disk space.
Prerequisite
Installed Java – Read How to Install Java
Step 1: Check For Java Version
To use and install JMeter we need java preinstalled in the system because JMeter is a Java based tool. If you don’t have java installed you may read how to install java. So let’s check that we have installed by the following command.
[root@localhost ~]# java -version
openjdk version "1.8.0_131"
OpenJDK Runtime Environment (build 1.8.0_131-b12)
OpenJDK 64-Bit Server VM (build 25.131-b12, mixed mode)
This output shows that we have pre-installed java.
Step 2: Download JMeter
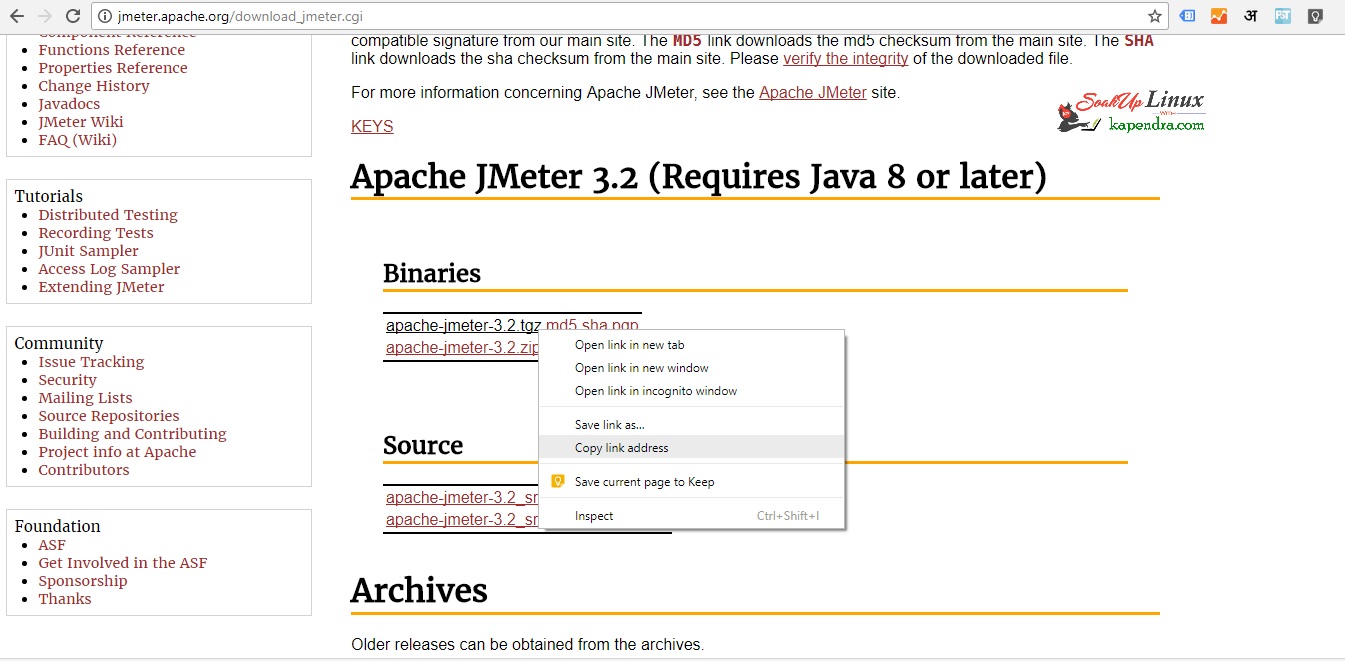
Now as we have Java in our system so now we need to download JMeter binary file. We can always check updated version and other information from the following Jmeter Official Site (Remember to go for binary file only)

Go to your browser and right click on the version you want to download and click on copy link.
Now go to your terminal and following these command to get your JMeter tar binary file.
[root@localhost ~]# cd /tmp
[root@localhost ~]# wget http://www-us.apache.org/dist//jmeter/binaries/apache-jmeter-3.2.tgz -c /tmp
--2017-07-04 17:24:29-- http://www-us.apache.org/dist//jmeter/binaries/apache-jmeter-3.2.tgz
Resolving www-us.apache.org (www-us.apache.org)... 140.211.11.105
Connecting to www-us.apache.org (www-us.apache.org)|140.211.11.105|:80... connected.
HTTP request sent, awaiting response... 200 OK
Length: 50345497 (48M) [application/x-gzip]
Saving to: ‘apache-jmeter-3.2.tgz’
100%[=====================================================================================================================================================>] 50,345,497 978KB/s in 1m 51s
2017-07-04 17:26:20 (443 KB/s) - ‘apache-jmeter-3.2.tgz’ saved [50345497/50345497]
/tmp: Scheme missing.
FINISHED --2017-07-04 17:26:20--
Total wall clock time: 1m 52s
Downloaded: 1 files, 48M in 1m 51s (443 KB/s)
[root@localhost tmp]# ll
total 49168
-rw-r--r--. 1 root root 50345497 Jun 20 18:28 apache-jmeter-3.2.tgz
Step 3: Untar JMeter TarBall
We have out JMeter tar file in /tmp directory so we need to untar the same file. Use the following command to do the same
[root@localhost tmp]# tar -xzf apache-jmeter-3.2.tgz
[root@localhost tmp]# ll
total 49172
drwxr-xr-x. 8 root root 4096 Jul 4 17:32 apache-jmeter-3.2
-rw-r--r--. 1 root root 50345497 Jun 20 18:28 apache-jmeter-3.2.tgz
As we a extracted directory so we can remove tar file now.
[root@localhost tmp]# rm -f apache-jmeter-3.2.tgz
Step 4: Install JMeter
This is the final step as we have successfully setup our files now. Just follow few simpler step to finalize your installation. like Renaming JMeter directory for smooth use
[root@localhost tmp]# mv /tmp/apache-jmeter-3.2/ /tmp/apace-jm
And now enter /tmp/apace-jm/bin directory
[root@localhost tmp]# cd /tmp/apace-jm/bin/
Now is the time to launch JMeter with the help of the following command.
# ./jmeter
Once Apache JMeter is launched, you can use it for testing.


Trending now