Contact Us

How to install VIM on Ubuntu and CentOS/RHEL/Fedora?
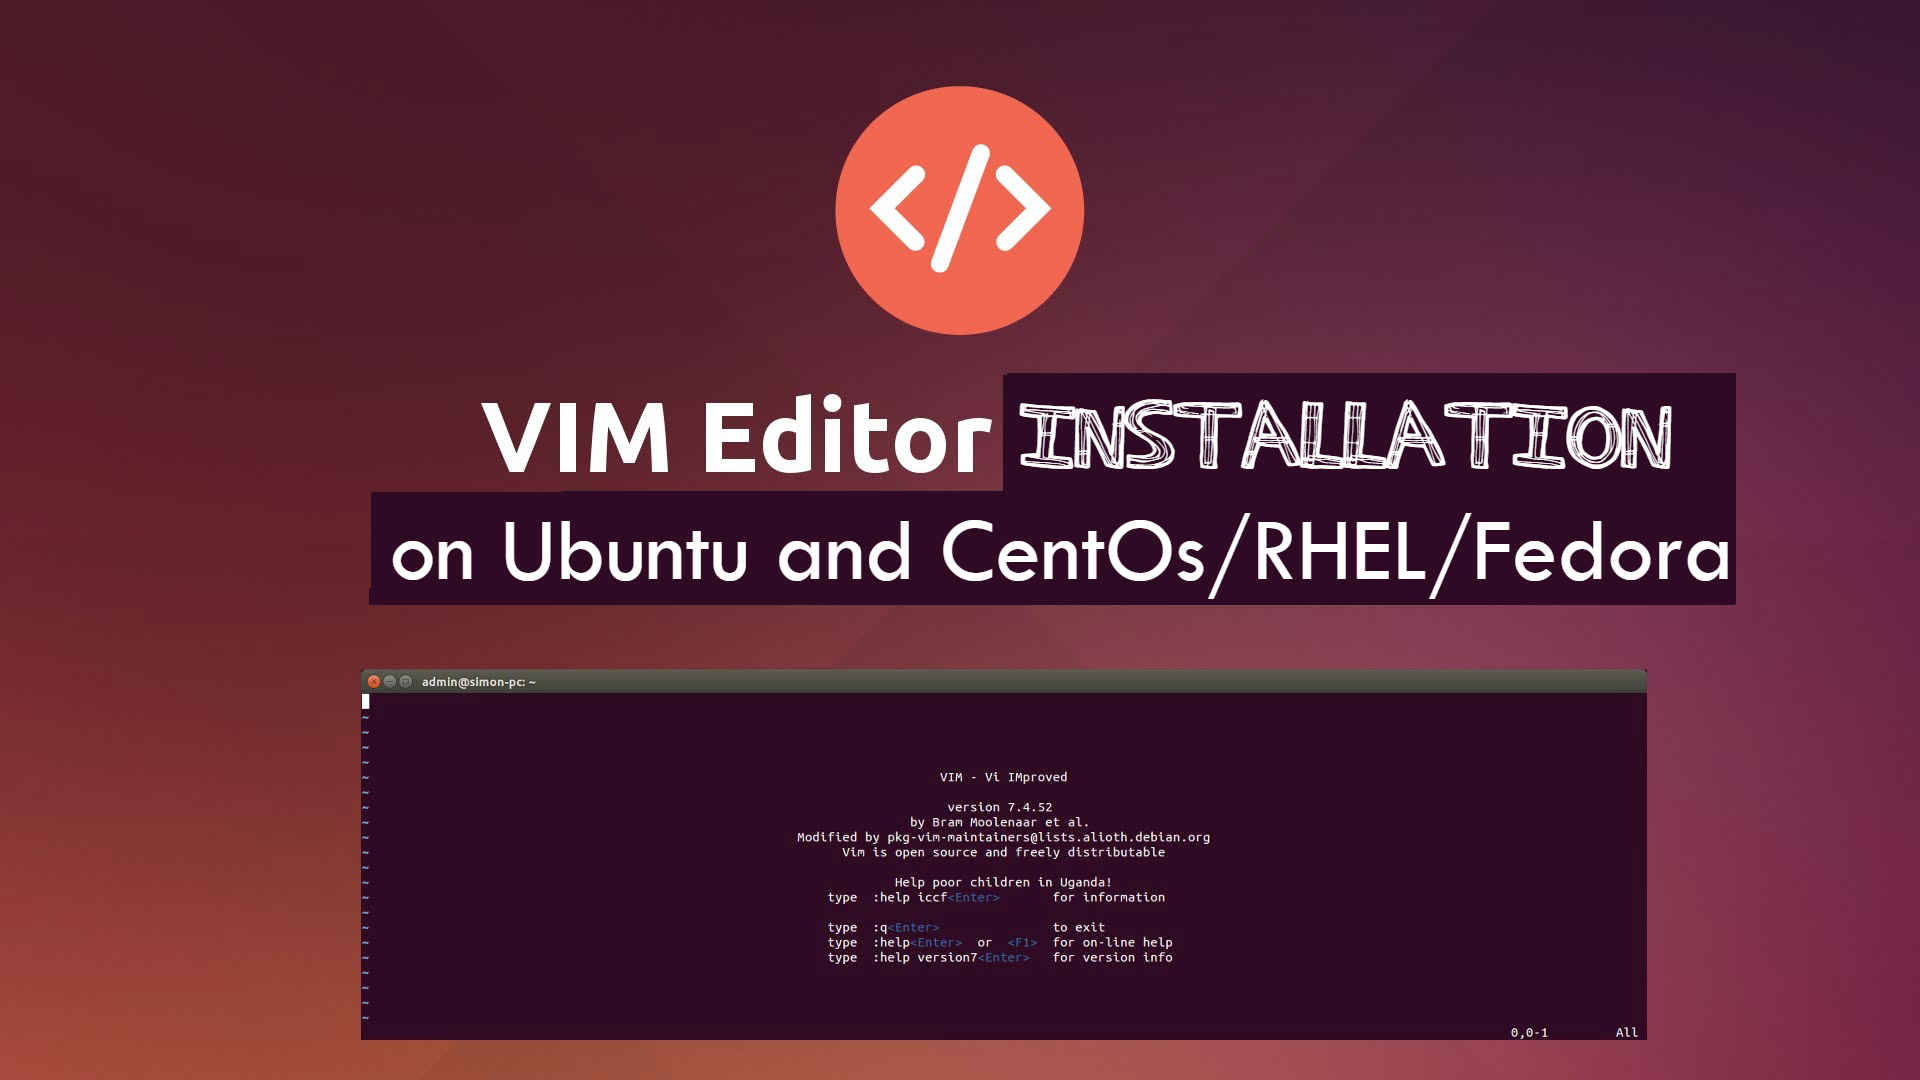
What is VIM editor and How to install on Ubuntu and CentOs/RHEL/Fedora
The vim editor is an enhanced and improved version of vi. It is one of the most popular and in use editors for editing any file over Linux or UNIX based system. Vim gives you the power of editing a file without using a mouse and use limited resources like network and do not fail with latency due to the internet. For eg., it works over slow network PPP modem connections.
Those who are addicted to the graphical interface and do not wish to use “vim” should use “gedit” (GNOME edit) or “gnp” (GNOME Note Pad) on Linux. These programs are very same like Windows “Notepad” also users with Unix systems GUI editors: “dtpad”, which can be found in /usr/dt/bin/dtpad for AIX, vuepad on HP/UX, or xedit on all Unix systems.
Scenario:
My Server IP: 192.168.1.188
OS: CentOS 5/6/7 and Ubuntu
We will install VIM with two methods:
- Install VIM with Repository
- Wit Compiling Source Code
Method 1 : VIM Installation With Repository:
In this process, we will yum predefined system based repository to install VIM.
For RHEL/CentOS/Fedora:
To Install Vim you need to run following Command on YUM based OS
#yum install vim-common vim-minimal vim-enhanced vim-X11
For Ubuntu / Debian:
For Ubuntu run the following.
#apt-get install vim vim-common vim-gnome vim-gui-common vim-runtime
With the successful note, we have successfully install VIM on our machine.
Method 2: Compiling Vim With Source Code:
Here is the process to install VIM if you like to go with compilation process using development tools. First, we need to download Vim source from GIT repository
# git clone https://github.com/vim/vim.git
# cd vim
#./configure --with-features=huge --enable-multibyte --enable-rubyinterp=yes --enable-pythoninterp=yes \
--with-python-config-dir=/usr/lib/python2.7/config \
--enable-python3interp=yes \
--with-python3-config-dir=/usr/lib/python3.5/config \
--enable-perlinterp=yes \
--enable-luainterp=yes \
--enable-gui=gtk2 --enable-cscope --prefix=/usr
# make VIMRUNTIMEDIR=/usr/share/vim/vim80
Vi/Vim Command Line Arguments:
Vim arguments are listed in this table:
Command usage: vim [arguments] filename1 [filename2 …]
–cmd {command} -v –help -L -R
| Arguments | Description |
| +[num] | Open editor with the cursor on line “num”. If “num” is not specified, the cursor will be on the last line of the file. |
| +/{pat} | Open editor with the cursor on the first occurrence of {pat}. |
| -c {command} | A “ex” command in double quotes will be processed against the file specified. |
| -b | Binary file mode. |
| -C | VI compatibility mode. Loses the more advanced vim features. |
| -d | Diff file mode. Must list all files to perform a diff upon (list 2, 3 or 4 files). Same as vimdiff. |
| -g | GUI gvim mode (if compiled in and available). |
| -h | Print help messages. Also, see vimtutor |
| -i filename | Specify viminfo file. Default is ~/.viminfo |
| -r | Recovery mode. Used after a crash. The “.swp” file is used. See “:help recovery”. |
| -M | File modifications and write not allowed. |
| -n | Prohibit “.swp” file generation. Required for special devices of limited space. |
| -x | Use encryption when writing files. Will prompt for a crypt key. |
| –noplugin | Skip loading plugins. |
| –version | Print vim version. |
Basic “vim” features:
If someone edits a file in vi by issuing the command: vi file-to-edit.txt
The vi editor has three modes, command mode, insert mode and command line mode
- Command mode: letters or sequence of letters interactively command vi. Commands are case sensitive. The ESC key can end a command.
- Insert mode: Text is inserted. The ESC key ends insert mode and return you to command mode. One can enter insert mode with the “i” (insert), “a” (insert after), “A” (insert at end of line), “o” (open new line after current line) or “O” (Open line above current line) commands.
- Command line mode: One enters this mode by typing “:” which puts the command line entry at the foot of the screen.
For More Stay Tuned with kapendra.com and its YouTube Channel
Subscribe on Youtube |
|


