Contact Us
How To Bring Up The Kubernetes Dashboard ? K8s-Part: 5
Bring Up The Kubernetes Dashboard on URL PUB/PVT Network! Uhhuh!
Kubernetes is very handy with the command line but kubernetes also have a dashboard which provides a good UI and helps in managing Kubernetes task like creating service, new deployments etc. Kubernetes dashboard helps to go through all the deployments and other useful information just in few clicks.
Kubernetes dashboard is deployed as a container inside pods in the cluster. The dashboard can be deployed using a YAML file. You can download this YMAL file from its official repository. The latest version is always ready for you on this link of the official Kubernetes repository
Well, I wrote this article because the Kubernetes dashboard was available by just running a command kubectl proxy but it provides a dashboard locally on the deployed server with the article, we can access the dashboard from the network also.
Prerequisite: Running Kubernetes Cluster
Scenario: Kubernetes Master 192.168.56.101
Let’s start
Step 1: Deploy Dashboard YAML
Use the below command to deploy the dashboard YAML file from the Kubernetes repository. This YAML is available from the Kubernetes official repository. you may also get the file to apply the YAML file.
kubectl create -f https://raw.githubusercontent.com/kubernetes/dashboard/master/src/deploy/recommended/kubernetes-dashboard.yaml
secret/kubernetes-dashboard-certs created
serviceaccount/kubernetes-dashboard created
role.rbac.authorization.k8s.io/kubernetes-dashboard-minimal created
rolebinding.rbac.authorization.k8s.io/kubernetes-dashboard-minimal created
deployment.apps/kubernetes-dashboard created
service/kubernetes-dashboard created
we can confirm the deployment using the below command
kubectl get pods --all-namespaces -o wide | grep dashboard
kube-system kubernetes-dashboard-767dc7d4d-2jhth 1/1 Running 0 44s 192.168.189.5 kmaster <none>
Step 2: Setup The Dashboard With Admin Role
To set up Kubernetes dashboard with admin rights s you need to create a YAML file as below
kubectl apply -f https://raw.githubusercontent.com/kapendra007/Kubernetes/master/admin-dashboard.ymal
clusterrolebinding.rbac.authorization.k8s.io/kubernetes-dashboard configured
Step 3: Expose your Dashboard
Now expose your dashboard with the master IP so that you may access it from anywhere you want to access
nohup kubectl proxy --address="192.168.56.101" -p 443 --accept-hosts='^*$' &
[1] 18915
Here we can see that we have a PID working and our proxy is live
kubectl get pods -o wide --all-namespaces | grep proxy
kube-system kube-proxy-4988n 1/1 Running 0 55m 192.168.56.101 kmaster <none>
Step 4: Access Dashboard
After hitting the previous command dashboard is accessible below the URL. so open your browser in your Kubernetes server network. For me, it is 192.168.56.0/24.
URL:
http://192.168.56.101:443/api/v1/namespaces/kube-system/services/https:kubernetes-dashboard:/proxy/#!/
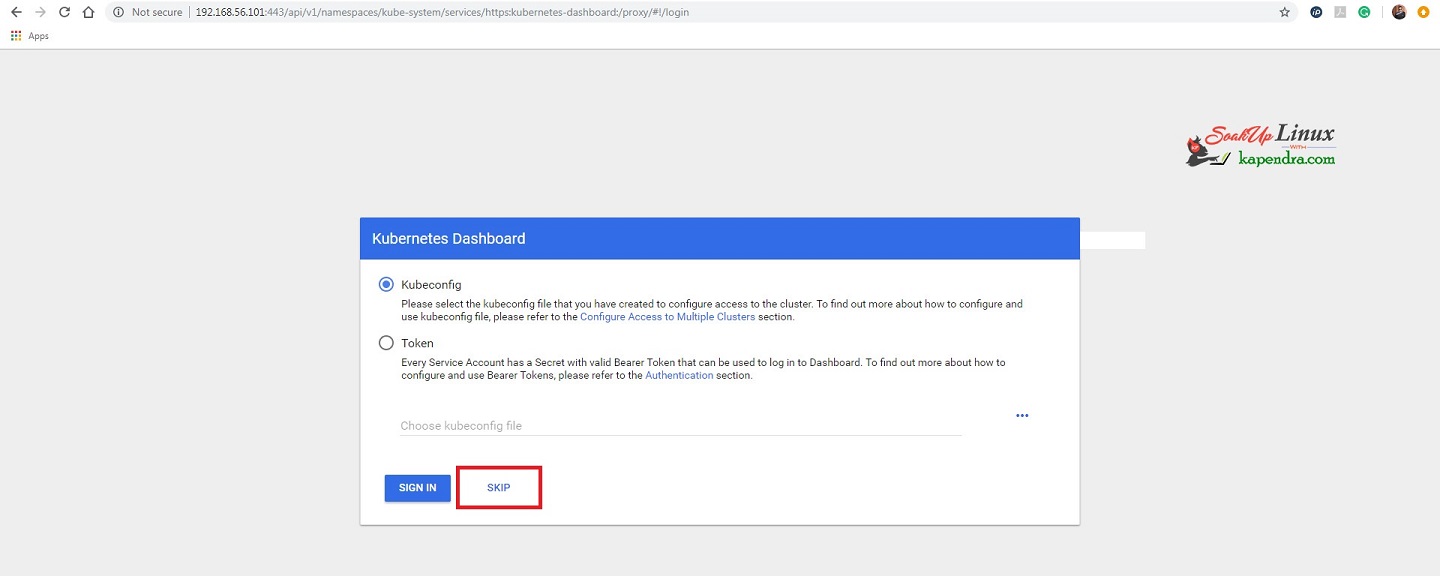
Now click on skip because we have already defined the admin role in the YAML file
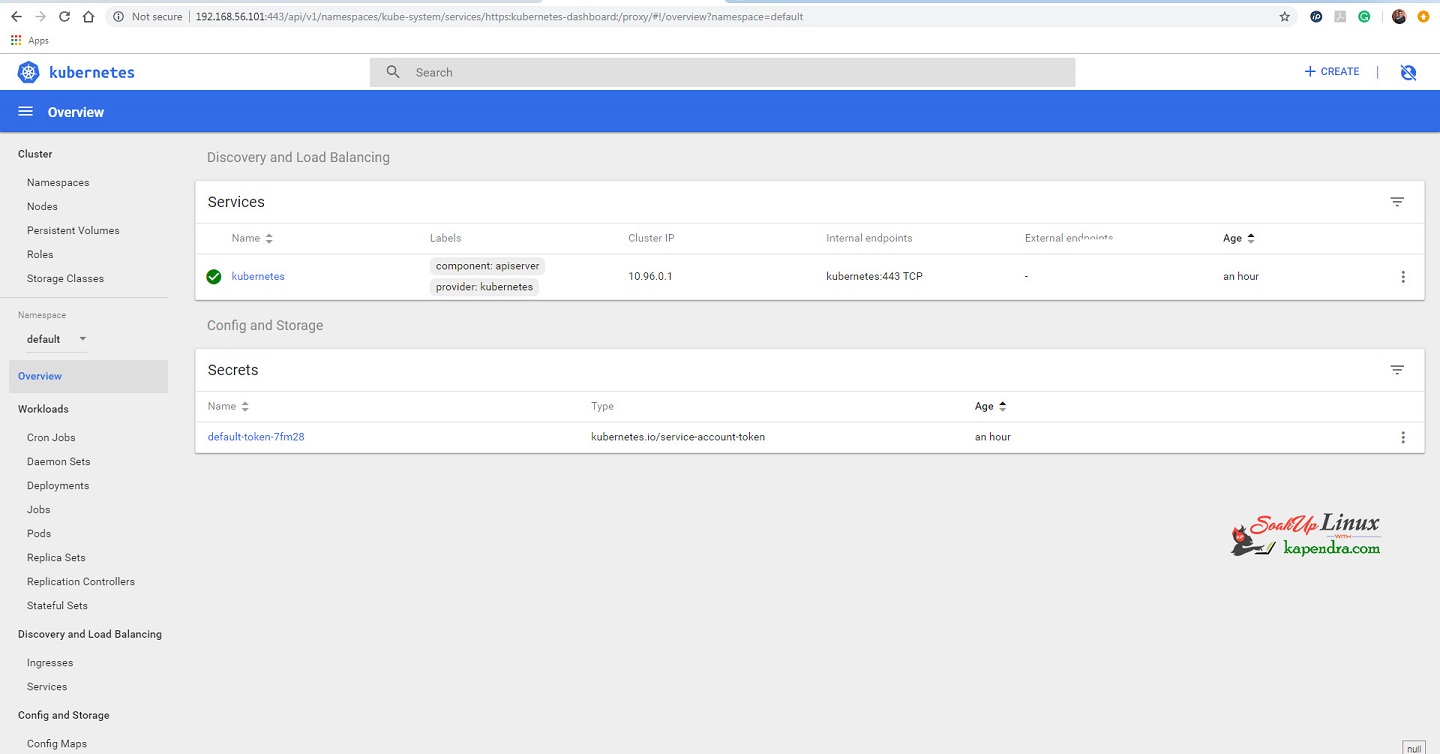
Well, we have successfully deployed the dashboard and you may deploy any new application by clicking +create button on the top right corner.
In the next article, we will discuss minikube(local Kubernetes cluster).
Understanding Kubernetes Concepts RHEL/CentOs K8s Part-1
Understanding Kubernetes Concepts RHEL/CentOs k8s: Part-2
How to Install Kubernetes on CentOS/RHEL k8s?: Part-3
How to Install Kubernetes on CentOS/RHEL k8s?: Part-4
How To Bring Up The Kubernetes Dashboard? K8s-Part: 5
How to Run Kubernetes Cluster locally (minikube)? K8s – Part: 6
How To Handle Minikube(Cheatsheet)-3? K8s – Part: 7
How To Handle Minikube(Cheatsheet)-3? K8s – Part: 8
How To Handle Minikube(Cheatsheet)-3? K8s – Part: 9


Trending now