Contact Us
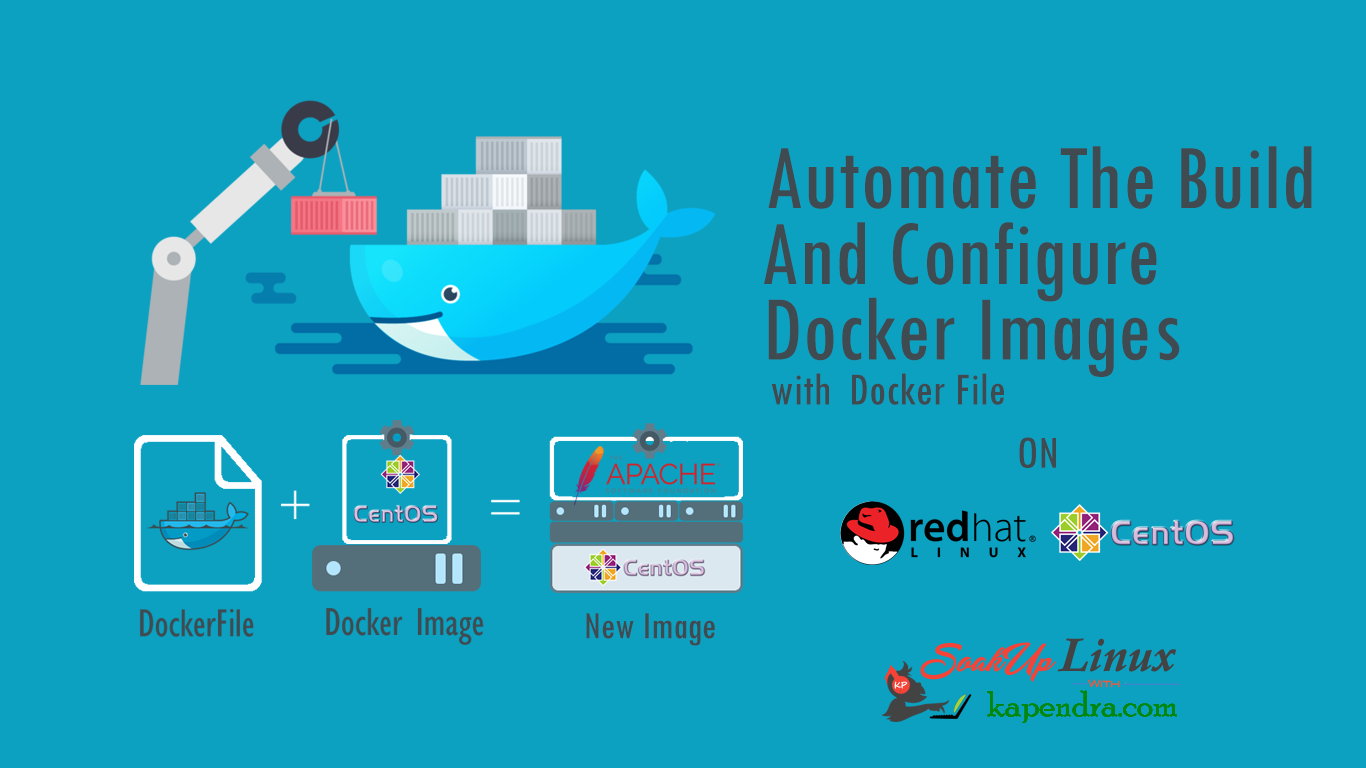
Learn To Automate The Build And Configure Docker Images: Docker File
In our previous tutorial, we tried with a simple Demo of a DockerFile to create a custom image with the installation of “dos2unix” package inside the image. Now in this tutorial, we will take a deep dive in DockerFile and learn to automate the building of Docker images with some configuration to create our custom image.
First, we need to know what are DockerFiles?
Docker files are nothing but a step-by-step set of instruction or command used to build a custom Docker image. Docker files are written in text format. The build is run by the Docker daemon, not by the CLI. The first thing a build process does is send the entire context (recursively) to the daemon. The command docker build builds an image from a Dockerfile and a context. The build’s context is the files at a specified location PATH or URL. The PATH is a directory on your local file system.
Just in case, if you did Miss Previous tutorials regarding Docker, You can read here:
Part 1: What Is Docker And Concept Of Containers With Virtualization?
Part 2: How To Install Docker On CentOS/RHEL 6/7? And Learn Docker HUB Registration
Part 3A: Getting Familiar With Docker Commands Docker Terms: Docker – Part 3 A
Part 3B: Getting Familiar With Docker Commands Docker Terms: Docker – Part 3 B
Part 4: Learn To Install, Run And Delete Applications Inside Docker Containers – Part 4
Part 5: Learn To Push Custom Build Docker Image On Docker HUB (Repository)
Part 6: What Are Docker File Learns To Use Them? | Simple Demo
Prerequisite:
Installed Docker Deamon: Part 1
Scenario :
Host OS: CentOS 7 x86_64
Host IP: 192.168.1.188
RAM: 4GB memory,
Network Port: 1GB/s
HDD: 1000GB of disk space.
To construct this DockerFile we will use CentOS image. In the same image we will install Apache and expose port 80 to access the Docker Apache server. Apart from this, we will do much more.
Before starting our Docker file construction let’s get aware and introduced of few instruction keywords and command used in the creation of DockerFile.
- Keyword “FROM”, tells Docker to pull the base image from which we will build our new image? If you looking for a specific image then use Tag e.g. centos:7.3. If you don’t specify tag you will get the latest image. You may use docker #search centos command to get your image tag or image version.
- Keyword “MAINTAINER”, tells that who will maintain this image so just mention the name and email ID.
- Command “RUN”, is used to run instructions against the image. These instructions can be used in multiple lines and run any commands after Docker image creation.
- Command “CMD” is just to print a message to the user like you are done or Successfully Completed. Use this when Docker image is started and it should be used only one time in a DockerFile.
- Keyword “ENTRYPOINT” is same as CMD. It is used when you need container to run the same executable every time, then you should consider using ENTRYPOINT in combination with like CMD [“param1″,”param2”] (as default parameters to ENTRYPOINT)
- Instruction “EXPOSE” instruction informs Docker that the container listens on the specified network ports at runtime. EXPOSE does not make the ports of the container accessible to the host. To do that, you must use either the -p flag to publish a range of ports or the -P flag to publish all of the exposed ports.
- Variable “ENV”, Set container environment variables. The environment variables set using ENV will persist when a container is run from the resulting image.
- Instruction “ADD” instruction copies new files, directories or remote file URLs from <src> and adds them to the filesystem of the image at the path <dest>. Like Copy resources (files, directories or files from URLs).
Let’s start
Step 1: Create Directory For DockerFile
From the Previous article, we know that our Docker file should start with capital “D” so we will keep it that way. But before that we should make a directory to keep our DockerFile at a specific path. Use the following command to create a directory and DockerFile.
[root@localhost ~]# mkdir -p /var/dockerfiles/centos/apache
[root@localhost ~]# touch /var/dockerfiles/centos/apache/Dockerfile
Step2: Edit DockerFile
Now edit the DockerFile using vim or any editor present on your system and append the DockerFile excerpt given below.
[root@localhost ~]# vi /var/dockerfiles/centos/apache/Dockerfile
Now add following DockerFile excerpt:
#Test for DockerFile
FROM centos
MAINTAINER  your_name  <[email protected]>
RUN yum -y install httpd
RUN echo "This is a Test for DockerFile – Apache Installed" > /var/www/html/index.html
EXPOSE 80
RUN echo "Image With Apache Installation Created Successfully"
after adding these excerpt save and close the wife using :wq!
Let’s understand what we have just done
- The line starting with “#” is used for comment. You can comment as many as comment you require, all you have to do is to start with a #
- Keyword “FROM” tell the name of the base image. In this example, we are using CentOS to create our new image.
- Keyword “MAINTAINER”, tells that who will maintain this image so just mention the name and email ID.
- Command “RUN” is used to run instructions against the image like in this example we will install Apache and we will put some text inside the default Apache page on our CentOS image.
- EXPOSE command will instruct Docker container to listen on port 80
Step 3: Executing DockerFile
Now we have created our Docker file and we will use CentOS image but it is required to give a specific name to the image which will be created locally after the execution of DockerFile. Let’s say the new name is centos-apache.
[root@localhost ~]# docker build -t centos-apache /var/dockerfiles/centos/apache/
Sending build context to Docker daemon 2.048 kB
Step 1 : FROM centos
Trying to pull repository docker.io/library/centos ...
latest: Pulling from docker.io/library/centos
7b6bb4652a1b: Pull complete
Digest: sha256:c1010e2fe2b635822d99a096b1f4184becf5d1c98707cbccae00be663a9b9131
 ---> 36540f359ca3
Step 2 : MAINTAINER testuser  [email protected]
 ---> Running in 031a0f2c8430
 ---> 9df94dfa3b06
Removing intermediate container 031a0f2c8430
Step 3 : RUN yum -y install httpd
 ---> Running in f2fec0219e53
Loaded plugins: fastestmirror, ovl
Determining fastest mirrors
 * base: centos.excellmedia.net
 * extras: centos.excellmedia.net
 * updates: centos.excellmedia.net
Resolving Dependencies
--> Running transaction check
---> Package httpd.x86_64 0:2.4.6-45.el7.centos.4 will be installed
--> Processing Dependency: httpd-tools = 2.4.6-45.el7.centos.4 for package: httpd-2.4.6-45.el7.centos.4.x86_64
..................................
Apache Install Process
..............................
Installed:
 httpd.x86_64 0:2.4.6-45.el7.centos.4

Dependency Installed:
 apr.x86_64 0:1.4.8-3.el7
 apr-util.x86_64 0:1.5.2-6.el7
 centos-logos.noarch 0:70.0.6-3.el7.centos
 httpd-tools.x86_64 0:2.4.6-45.el7.centos.4
 mailcap.noarch 0:2.1.41-2.el7

Complete!
 ---> 09286a5004e9
Removing intermediate container f2fec0219e53
Step 4 : RUN echo "This is a Test for DockerFile – Apache Installed" > /var/www/html/index.html
 ---> Running in f4d4b9420b6c
 ---> 3e1ba680e08f
Removing intermediate container f4d4b9420b6c
Step 5 : EXPOSE 80
 ---> Running in 1c145b05c350
 ---> d811ef97c1ca
Removing intermediate container 1c145b05c350
Step 6 : RUN echo "Image With Apache Installation Created Successfully"
 ---> Running in d80e3bd079ce
Image With Apache Installation Created Successfully
 ---> b80961ddf8c8
Removing intermediate container d80e3bd079ce
Successfully built b80961ddf8c8
Let’s understand what we are doing here:
- “-t” is used for Tagging our new image
- centos-apache is the Image Name you want to give to your image.
- /var/dockerfiles/centos/apache/ is the directory where the Your DockerFile is present.
After completion of the command we can check for our newly created image using the following command:
[root@localhost ~]# docker images
REPOSITORY TAG IMAGE ID CREATED SIZE
centos-apache latest b80961ddf8c8 6 minutes ago 331.9 MB
Step 4: Start Container And Access Apache
As previously told, by default Docker container port are not accessible to the Docker host. So, access Apache we need to run our container continuously (in the background) and access the container exposed port (80) from the host or other remote machines in your network run the flowing commands.
[root@localhost ~]# docker run -it -p 81:80 centos-apache /bin/bash
[root@cbc02d514335 /]# httpd &
[1] 15
[root@cbc02d514335 /]# AH00558: httpd: Could not reliably determine the server's fully qualified domain name, using 172.17.0.2. Set the 'ServerName' directive globally to suppress this message
[1]+ Done httpd
[1] 15    -----------  Press CTRL+p then CTRL+q
Let’s understand what we are doing here:
- “-it” runs the centos-apache container with Interactive mode and with Tagging
- “-p” option maps the container port 80 to your localhost port 81. And Docker web server is accessible only on port 81
- centos-apache is the Image Name you want to use.
Step 5: Check Our Work
1. Through Port: We can check the status of our running Docker container with ‘docker ps’ command.Now we have a custom image and we created Docker container with the web server running. So to check out work we will use ‘netstat’ command to take an idea about what ports.
[root@localhost ~]# netstat -antlp | grep ':81'
tcp6 0 0 :::81 :::* LISTEN 8632/docker-proxy-c
2. Through Web Page: You may verify this by accessing the web page on the web browser. Now, Open your web browser on a computer within your network and hit http://DockerHostIP:81/ in my case i will hit http://192.168.1.188:81 and if you can see below image then your newly created Docker image is working fine.

Step 6: Check Inside Your Docker Container
Now to get a status and idea about what’s happening inside Docker container or you ant to stop it you may use flowing commands
[root@localhost ~]# docker ps ----to get ContainerID
CONTAINER ID IMAGE COMMAND CREATED STATUS PORTS NAMES
cbc02d514335 centos-apache "/bin/bash" 9 minutes ago Up 9 minutes 0.0.0.0:81->80/tcp gloomy_mclean
Now you can check different stats inside a docker container using follwoing commands.
[root@localhost ~]# docker top cbc02d514335
UID PID PPID C STIME TTY TIME CMD
root 8651 8637 0 14:14 pts/1 00:00:00 /bin/bash
root 8692 8651 0 14:14 ? 00:00:00 httpd
apache 8693 8692 0 14:14 ? 00:00:00 httpd
apache 8694 8692 0 14:14 ? 00:00:00 httpd
apache 8695 8692 0 14:14 ? 00:00:00 httpd
apache 8696 8692 0 14:14 ? 00:00:00 httpd
apache 8697 8692 0 14:14 ? 00:00:00 httpd
apache 8741 8692 0 14:18 ? 00:00:00 httpd

[root@localhost ~]# docker stats cbc02d514335
CONTAINER CPU % MEM USAGE / LIMIT MEM % NET I/O BLOCK I/O PIDS
cbc02d514335 0.00% 12.59 MiB / 3.618 GiB 0.34% 2.45 kB / 2.058 kB 10.6 MB / 0 B 8
You may Also handle these services from the Docker Host machine you need to check Part 8
Part 1: What Is Docker And Concept Of Containers With Virtualization?
Part 2: How To Install Docker On CentOS/RHEL 6/7? And Learn Docker HUB Registration
Part 3A: Getting Familiar With Docker Commands Docker Terms: Docker – Part 3 A
Part 3B: Getting Familiar With Docker Commands Docker Terms: Docker – Part 3 B
Part 4: Learn To Install, Run And Delete Applications Inside Docker Containers – Part 4
Part 5: Learn To Push Custom Build Docker Image On Docker HUB (Repository)
Part 6: What Are Docker File Learns To Use Them? | Simple Demo
Video Coming Soon:


Trending now